The Philippines is one of the most diverse countries full of pristine beaches, exotic islands, big metropolitan cities, and stunning landscapes. This 7 Day Philippines Travel Itinerary allows you to explore this unique country in just a week.
Quick Navigation
Toggle7 Day Philippines Travel Itinerary Overview
With the world opening up after a 2 years battle in the harshest of the pandemic, let’s hope things get better. Travelers are flocking in again, and one week is a very short time to see such an expansive and varied country as the Philippines, so our journey, as outlined in our Philippines travel plan, will start and end in different cities.
Below you’ll see a day-by-day breakdown of where this travel itinerary will take you and its highlights. We’ve allowed some breathing time so your schedule doesn’t drive you crazy while you get to see the major points and have some time to relax too!
- Day 1 – Manila: Intramuros, Museo Filipino and Manila Bay
- Day 2 – El Nido: Nacpan Beach and Nagkalit-Kalit Falls
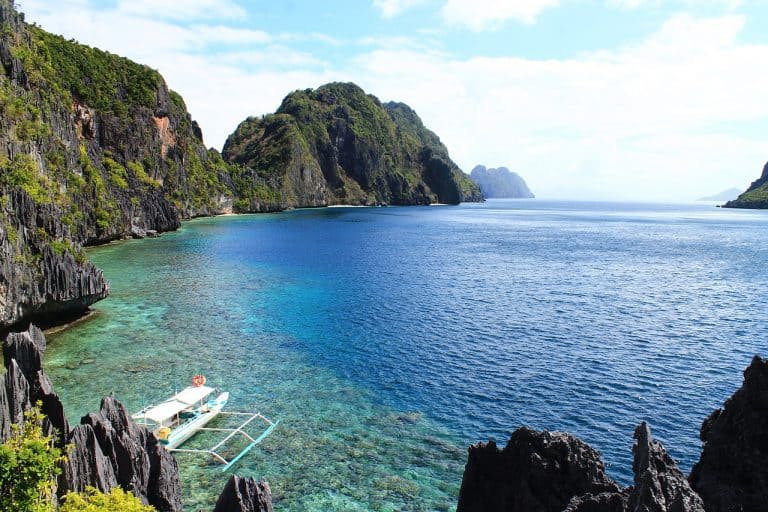
- Day 3 – El Nido: Big Lagoon and Hidden Lagoon
- Day 4 – Sabang: Underground river
- Day 5 – Puerto Princesa: Snorkeling, Palaweno Brewery, fireflies and Mangrooves
- Day 6 – Cebu: Temple of Leah and Walking Tour
- Day 7 – Cebu: Bohol and Waterfalls
How Much Does It Cost to Travel in the Philippines for a Week
You can travel to the Philippines on any budget. I have estimated the costs for budget, mid-range, and luxury travelers to the Philippines.
Examples of Prices
- Public ferry ride: $10 – $20, depending on the destination.
- Jeepney ride: $0.20 – $0.50.
- Local beer: $1 – $2.
- A hostel bed: $8 – $10.
- Tricycle ride: $0.50 – $0.70.
- A small basket of strawberries: $2.50.
- A cup of coffee: $0.15-$5.
- Island hopping tour: $35.
- Scooter rent: $9/day.
These are the estimated costs for a week and includes accommodation, transportation, food and drinks, day trips, and things to do.
Budget
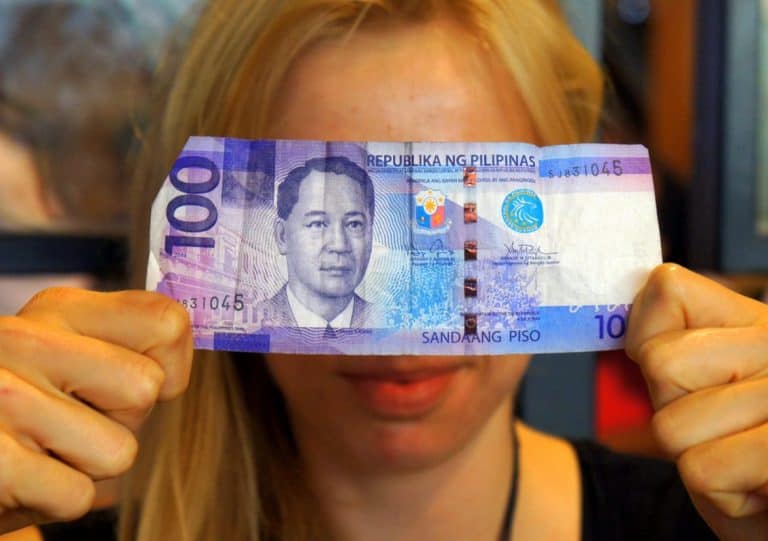
Traveling 7 days in the Philippines on a budget cost approximately between $265 and $365. Prices of hostels vary between $10 to $15 a night. The cost of food averages between $7 – $10, depending on what you eat and an occasional beer. The cost breakdown is:
- Food: $50 – $70.
- Accommodation: $60 – $90.
- Getting around: $100 – $125.
- Activities: $50 – $80.
Getting around the Philippines costs the most because for this itinerary you would need to fly. The country consists of islands which are pretty far away from each other and you don’t want to spend most of your time getting from one place to another.
If you have more time, you can opt for local buses and ferries between each destination to save money and see the Philippines from a perspective of a local.
Mid-Range
Traveling around the Philippines for a week on a mid-range budget will set you back on average between $450 and $630. You will stay in local boutique accommodation, dine out at restaurants, getting to your destination comfortably, and enjoying premium activities.
- Food: $100 – $140.
- Accommodation: $150 – $240.
- Getting around: $125 – $150.
- Activities: $75 – $100.
Luxury
Do you want to enjoy the Philippines while traveling in luxury? A week will cost you between $900 to $1345 in total. This includes staying in luxurious hotels and resorts, three-course meals in good restaurants, traveling around without a hassle, and exploring all the luxuries of the Philippines.
- Food: $175 – $245.
- Accommodation: $450 – $600.
- Getting around: $200 – $250.
- Activities: $150 – $250.
Day one – Manila
Manila is also known as the Pearl of the Orient and it’s the capital city of the Philippines.
Arriving in Manila
For citizens of most countries, a visa is not required to enter the Philippines if you stay less than 30 days. To enter the Philippines, you need to have a valid onward ticket. Make sure you have one to avoid being denied entry.
Arrive the day before in Manila to get the most out of your day. If that is not possible, arrive in the morning and drop your bags off at your hotel or hostel.
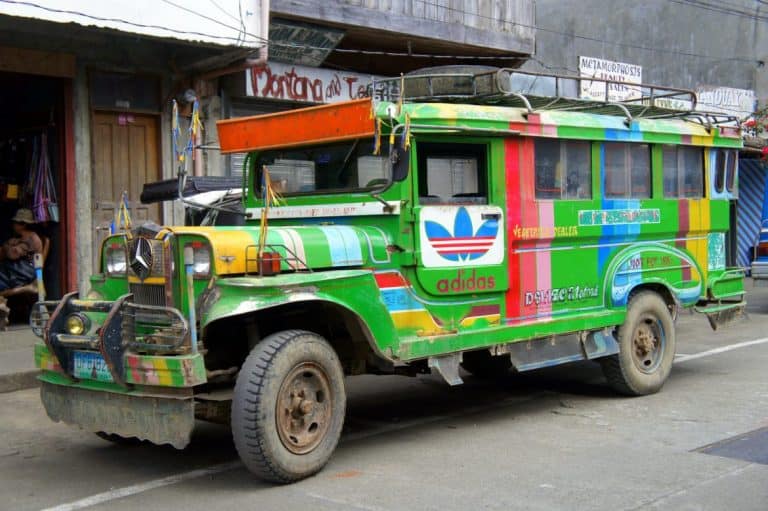
A Jeepney is the cheapest way to get from the airport to Manila and cost around $0.50. A taxi from the airport costs between $2 and $5, depending on the drop off point.
Explore Intramuros
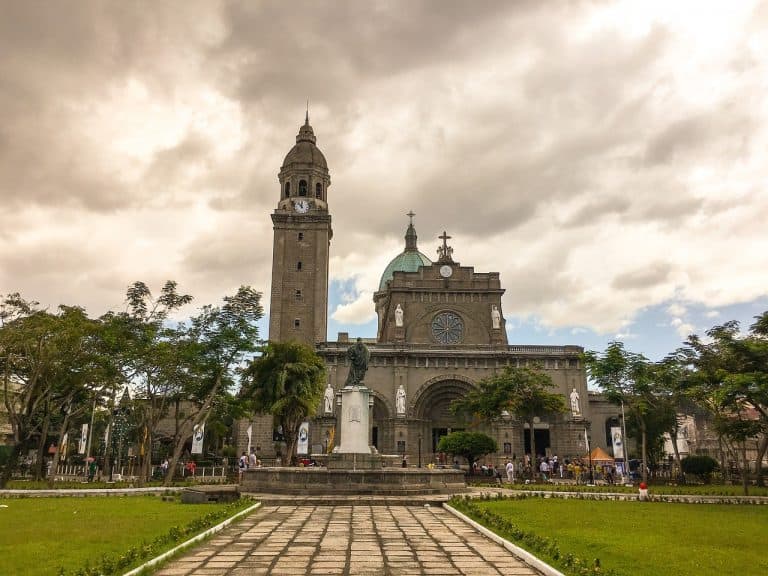
Intramuros is the oldest district of Manila. It’s home to the Manila Cathedral and Fort Santiago. You can explore the old colonial neighborhood in just a few morning hours by bicycle. Alternatively, you may opt for a bike tour with a guide to hear more about the history from a local.
Museo Filipino
To get a good grasp of the culture and history of the Philippines, head over to the Museo Filipino. It’s full of information, objects, and photographs of the Philippines.
Also, an excellent way to escape the heat in the afternoon.
Watch the Sunset at Manila Bay
End your day in Manila while watching the sunset at Manila Bay. Roxas Boulevard is a good spot to enjoy the sunset.
If you want to watch the sunset in style, head over to the Sky Deck at The Bayleaf Hotel, a chill rooftop bar.
Where to Stay in Manila?
Budget: Humble Hut Hostel. A good, centrally located hostel with friendly staff and clean rooms.
Mid-Range: Red Planet Manila Bay. This modern hotel is located near all the sights, restaurants, and the sunset at Manila bay.
Luxury: New Coast Hotel Manila. A luxury hotel offering views of Manila Bay, and a lovely swimming pool.
You can use the map below to find the right accommodation for yourself. Type in “Manila” (or any city of your choice in the Philippines) in the search box and see what’s out there.
Day two – El Nido
Important Information on El Nido regulations
Before traveling to El Nido, there is one thing you should know. All the tours and key sights are strictly regulated by the government. These rules and guidelines are in place to protect the environment from overcrowding. Please note the following:
- You are allowed to visit ONE premium sight per day. These premium sights are the Big Lagoon (Tour A), Small Lagoon (Tour D), and Secret Beach (Tour C). Combinations are prohibited.
- Pre-registration for the premium sights is required. If you book your day trip, your tour operator will register you. You cannot simply arrive at the spot.
- You will have to pay additional fees. The environmental fee is between ₱100 and ₱200, depending on the sight.
- Number of visitors is limited. The government limits access to the key sights around El Nido to protect the environment. If you do not reserve a tour, you may not be able to do it on your planned day. Consider booking in advance.
Transferring from Manila to El Nido
Leave your hotel or hostel in Manila after breakfast and grab a morning flight, best before 11 AM. The flight only takes 1 hour and 20 minutes to El Nido Airport and you should arrive at your hotel or hostel around 1 PM.
If you have more than 7 days and limited budget, you can travel cheaper but longer. Here are some options.
Nacpan Beach
Nacpan Beach is one of the best beaches around El Nido. It’s a little out of the way, but you’ll avoid the crowds. If you don’t want to bring your own towels, you can rent them on the beach for around $2.
Nagkalit-Kalit Falls
It takes a 40-minute hike to get to the Nagkalit-Kalit Falls and you will be rewarded with a refreshing dip in the pool at the bottom of the waterfalls. A local guide to take you there cost $6. You have to cross several streams to get there.
Day three – El Nido
Big Lagoon and Hidden Lagoon
To visit Big Lagoon you need to select Tour A. Try to book in advance to avoid missing out.
Have an early breakfast on day three and be ready around 8 AM.
Today you will be picked up for your island and lagoon tour around El Nido. You will visit the famous Big Lagoon, Hidden Lagoon, 7 Commando Beach, and Shimizu Island. You will spend your day swimming, snorkeling, and relaxing.
Please remember about the additional environment fee of ₱200 and blue lagoon entry ₱200. You can also rent a kayak for ₱400 ($6) to enter the lagoon.
Where to Stay in El Nido
Budget: Outpost Beach Hostel – Adults Only. Located right on the beach, and has cheap food and relaxing vibes.
Mid-range: Desert Rose Hotel. A comfortable hotel where breakfast on your own terrace is possible.
Luxury: El Nido Garden Resort: A luxury resort on the edge of town with fantastic sunsets.
Day Four – Sabang
Transferring from El Nido to Sabang
Head to bed early after your day at the lagoons. You will depart from El Nido at 4 AM the next morning.
The most convenient way to get to Sabang is by van, which can be booked in advance. A shared van costs around $16 per person. You will arrive in Sabang at 10 AM. You can drop off your bags at your hotel.
Subterranean River National Park
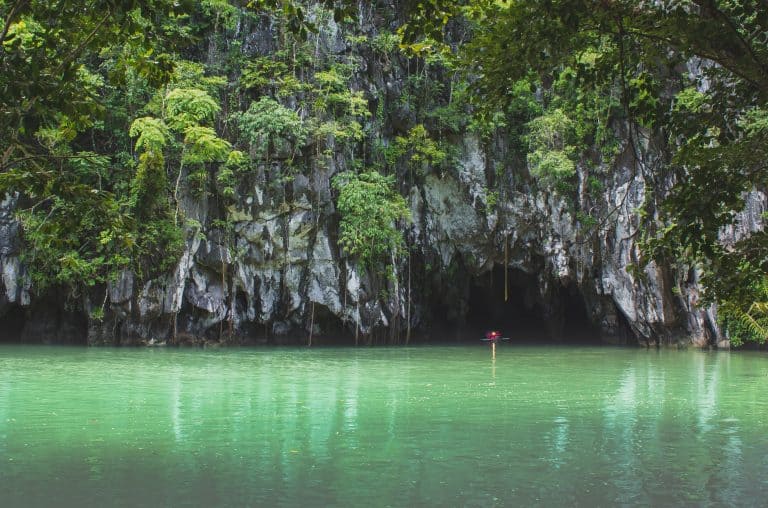
The highlight of Sabang is the Subterranean River. This underground river is one of the longest in the world. You can discover the caves and the river in a paddleboat which takes around 45 minutes.
Tickets to the underground river are limited. You can get it from the ticket office immediately after arriving in Sabang.
If you are going there yourself, you can either walk 5km through a jungle trail or book a Bangka boat at the information office, which takes you there in 15 minutes.
One important thing not to forget is to get your park permit at the information office at the entrance. Without a park permit, you’re not allowed access to the cave and subterranean river.
A Massage on the Beach
Sabang is a great place to get a massage. There are many small stalls around the beach offering massage on the spot and they are highly skilled in what they’re doing. This is the best moment to treat your body to some well-deserved relaxation. Prices range between $5 – $10 per hour.
Where to Stay in Sabang?
Budget: Cafe Sabang. Clean rooms next to a cafe offering freshly baked bread and pizza.
Mid-range: Dabdab Tourist Inn. Near the beach in Sabang. Friendly and comfortable atmosphere.
Luxury: Daluyon Beach and Mountain Resort. A luxury resort right on the beach with some good restaurants on-site.
Day Five – Puerto Princesa
Transferring from Sabang to Puerto Princesa
Get some rest and leave your accommodation at around 10 AM.
The journey from Sabang to Puerto Princesa only takes around 2 hours. You can get there by minivan, local bus or Jeepney. Getting a bus or a Jeepney will be the cheapest way to get to Puerto Princesa.
If you don’t want the hassle of finding a Jeepney to get there, you can always book a transfer in advance which picks you up from your hotel.
Snorkeling in Honda Bay
Once you have settled down in Puerto Princesa, head over to Honda Bay. It’s possible to visit the bay, the islands and snorkeling spots with a tour, but you can also do it yourself.
Get a Jeepney or taxi to the Lourdes Pier. From there you can grab a private boat for around $30, and create your own itinerary. If your budget is tight, wait for a couple of other travelers to arrive and share the boat together.
Starfish and Luli island are the best islands for a swim and to relax. You can go snorkeling around most of the islands, but Pambato Reef is the best place to see the local marine life. Be careful while snorkeling, as the currents can be strong.
Palaweno Brewery
Palaweno Brewery is the first all female-run craft brewery in the Philippines. They have a small beer selection but are definitely worth a visit if you’re a fan of craft beer.
Fireflies and Mangroves
In the evening you can go firefly watching. Near Puerto Princesa, there is a mangrove river. At night, it lights up with thousands of fireflies. There’s an option to visit the mangroves and fireflies with a tour from Puerto Princesa.
Do, however, be aware that these tours are “touristic” in nature and can get busy. So if you’re not a fan of crowds, skip this one.
Where to Stay in Puerto Princesa?
Budget: C Hostel. A clean hostel with a beautiful garden.
Mid-range: Deep Forest Garden Hotel. This comfortable and clean hotel is located near the city center and the airport. It has a pool for you to relax in.
Luxury: Munting Paraiso. An excellent resort located just outside of Puerto Princesa with quiet surroundings for a good night’s sleep.
Day Six – Cebu
Transferring from Puerto Princesa to Cebu
After breakfast, make your way to the airport in Puerto Princesa. You can get a flight to Cebu for around $25 but can get even lower if you compare flights in advance. The total flight time is only one hour and fifteen minutes. The airport at Cebu is located close to Cebu City, and you will arrive at your hotel around 1 PM.
Temple of Leah
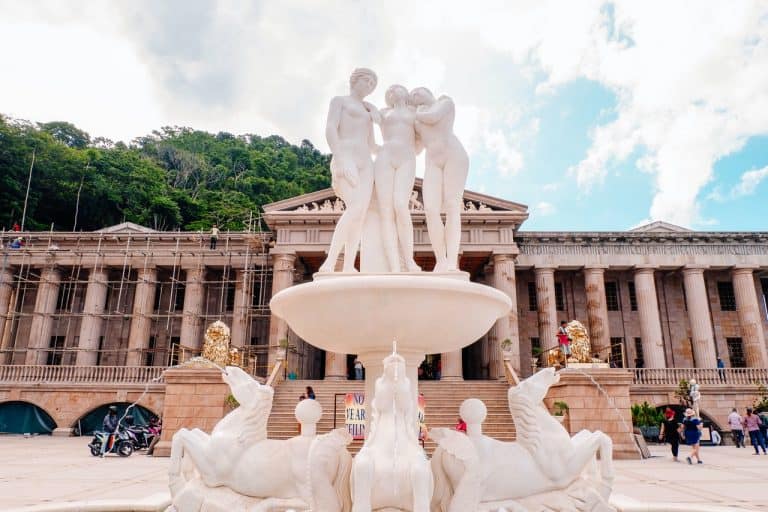
The Temple of Leah is a Roman-style temple located outside of Cebu City. To get to the temple, just grab the 04D, 04I, or 04H jeepney from downtown Cebu City for only $0.60.
Cebu City Walking Tour
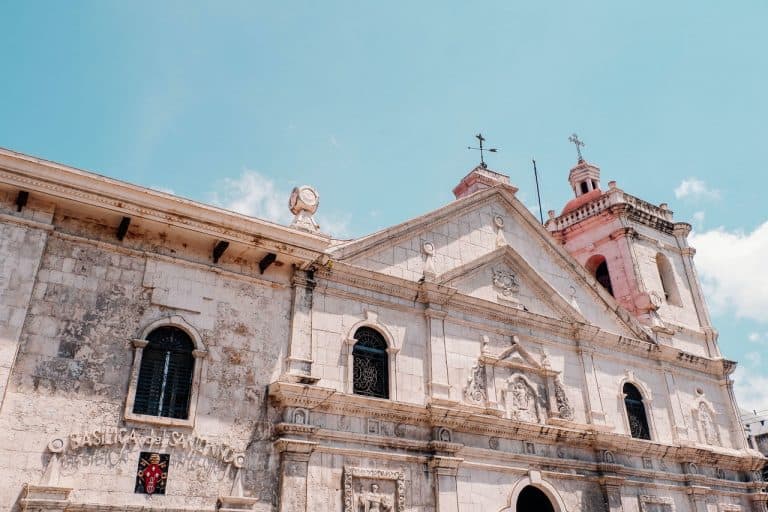
The best way to explore Cebu City is on foot. You can sign up for a walking tour allowing you to experience the city through the eyes of a local.
The city is more than 500 years old and full of old churches, parks, and forts.
Where to Stay in Cebu?
You will spend the last two nights on this Philippines travel itinerary in Cebu City.
Budget: HQ Hostel – Adults Only. A modern hostel close to the city center with a bar, garden, and delightful breakfast.
Mid-range: Hotel OYO 210 Apple Tree Suites. A clean hotel in a safe area with great beds. This hotel is close to both the city center and the airport.
Luxury: Radisson Blu Cebu. One of the most luxurious hotels in the city right next to the Cebu City Mall. They have a great pool bar.
Day Seven – Cebu
You can either explore the neighboring island of Bohol, or the nature and waterfalls of Cebu Island on your last day.
Explore Bohol
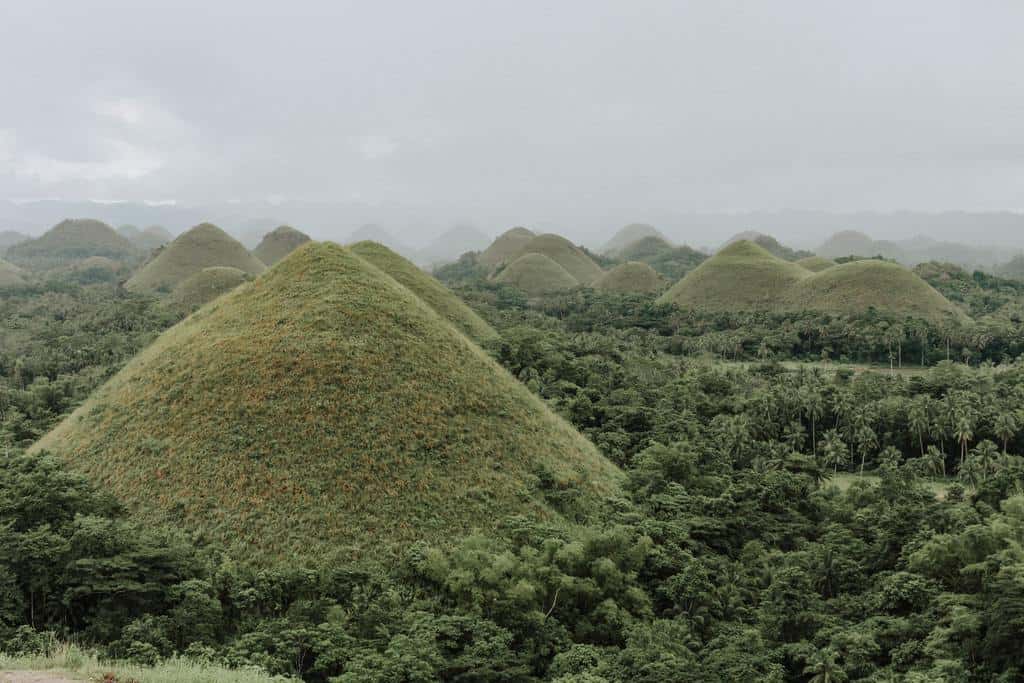
Bohol is known for the thousands of uniformly shaped hills that make up its landscape. Take the ferry from Cebu City for $15 to Tagbilaran. You also have to pay a ₱25 ferry fee at the pier.
From Tagbilaran you can explore Bohol. You can get to the well known Chocolate Hills by bus, car or Jeepney.
If you dont want to go to Bohol by yourself, you can get an organized day trip from Cebu.
Explore the Waterfalls
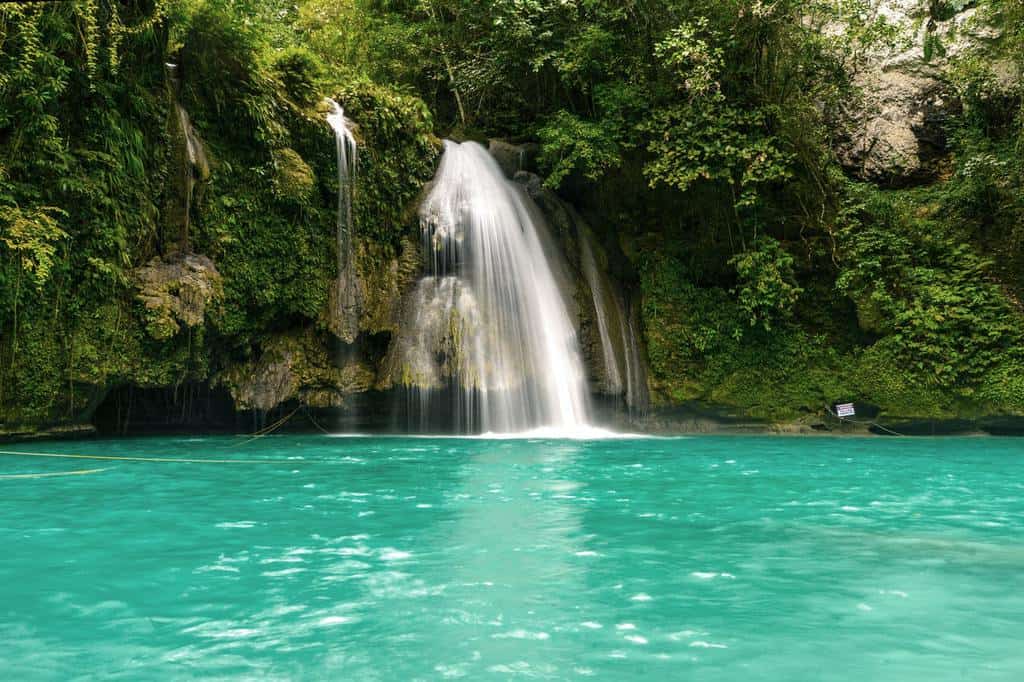
You can also spend your last day exploring the waterfalls and natural pools of Cebu Island.
The Kawasan waterfalls and Aguinid waterfalls are secluded and surrounded by jungles. It’s a nice way to explore the vast nature of this island while relaxing and enjoying the waterfalls and the pools.
Stay Safe in the Philippines
Be Careful of Pickpockets
As in most places around the world, be careful of pickpockets. Consider leaving your valuables at your hotel in a safe or with a member of staff or get an anti theft backpack. Best practice is to not wear jewelry or expensive watches and bring only the amount of cash needed for the day.
ATM Fraud
ATM fraud or ATM skimming can happen. Try to limit the number of times you have to withdraw monet. If possible, get cash from inside a bank or shopping mall.
Free Public Wi-Fi
Be careful while using free public Wi-Fi anywhere. They are usually unprotected, which allows criminals to access your phone or laptop. If you want to be safe, consider getting a VPN on your device.
Be Mindful of Diseases
Dengue fever occurs in the Philippines. You can limit mosquito bites by wearing long-sleeved clothing and using anti-mosquito repellents.
Hepatitis A and B is another risk, which is transmitted through contaminated food or water, or through contact with the blood of an infected person. Vaccinating before the trip is recommended.
How to Prepare for a Trip to the Philippines
Get Insured
One of the most important things to arrange before traveling to the Philippines is getting travel insurance. Accidents can happen even if you are extremely cautious. By getting insured your medical expenses are covered.
Get a Sim Card
With a local sim card, you can stay connected to the internet while traveling. You can get a reliable sim card on arrival at the airport.
Bring a Power Adapter
The Philippines uses different kinds of power outlets. Make sure you can charge your devices anywhere by getting a suitable Universal Power Adapter.
Get a Guidebook
Lonely Planet Philippines is a good source of useful information. Until very recently we took it with us on nearly every trip. now most information is available online, but if you want to have access to all the main points in one place, then you can print out this article, or get a physical guidebook.
Bring a Reusable Water Bottle
You can’t drink tap water in the Philippines. While you can buy bottled water everywhere, it’s not good for the environment. Get a Water Bottle with a Filter instead. The filter removes 99% of the waterborne bacteria and parasites while saving you money.
Where to Go Next in the Philippines?
Do you want to spend more time in the Philippines? You can make your way North to Banaue, with its stunning rice terraces and scenery.
