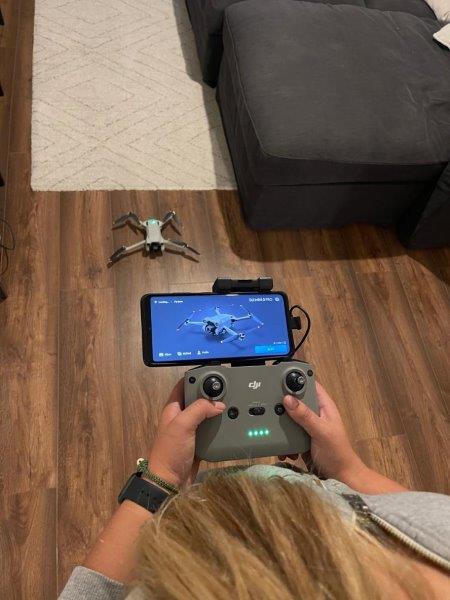
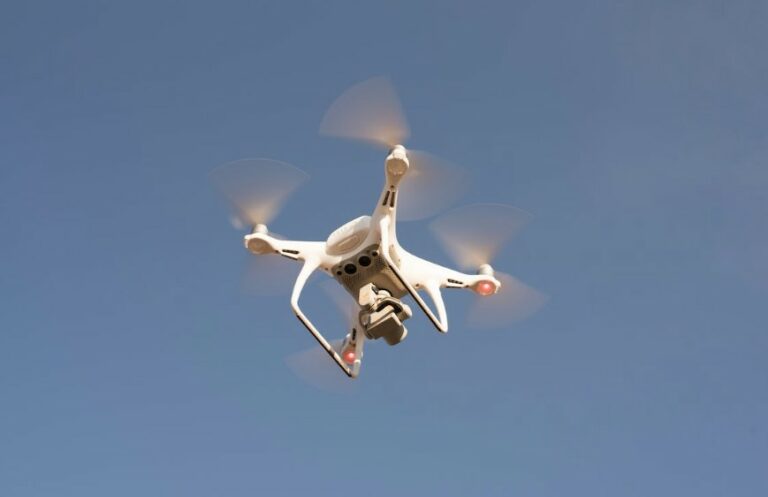
Connecting a GoPro to a drone is not only feasible, but is also a fantastic way to capture stunning aerial footage. It’s like having your eyes in the sky, so you can take a look at the world from a new perspective.
If you’ve recently gotten into drones as a hobby, you may have wondered how to attach a GoPro to your drone to shoot some travel videos.
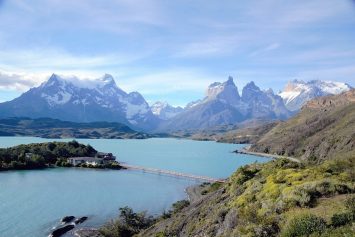
We’ve dabbled and used plenty of drones before in our road trips and travels through places like Scotland and South America, and we’ve found the process pretty easy as long as you have the right equipment.
Below, we’ll walk you through the steps to help you set up your drone for its famous filmed flight.

Quick Navigation
ToggleCan You Attach a GoPro to a Drone?
Yes, it is achievable, and let us explain why.
Depending on your situation, it may also be cheaper to attach a GoPro to your drone instead of buying a drone with a camera built in. This is almost certainly the case if you already have an unused GoPro lying around from your past adventures!
How to Mount Your GoPro
To mount your GoPro to your drone, follow these steps:
1. Check Your Drone’s Mount
Before you can start the mounting process, you need to check your drone’s build. Depending on the type of mount your drone has, you may or may not be able to attach your existing GoPro. You should only continue with this setup if your drone has an adequate mount:
- Fixed Camera: Some drones come with a permanent camera fixture, leaving no room for GoPro attachment. If this is the type of drone you have, you’re better off using the embedded camera or returning it for another model that has a mount for your GoPro.
- Stationary Mounts: These are the mounts that are fixed but can still accommodate a GoPro or other cameras. Most drones have this type of mount as they’re simpler to produce and easier to hook up.
- Gimbal Mounts: Gimbal mounts are the holy grail for videographers, providing stability and reducing shake, allowing for smoother footage. You can also attach a GoPro to these mounts for even better video.
2. Check Your GoPro
In addition to your drone, you also need to check your GoPro. Before mounting, be sure to take a look at both its weight and its structure. Even if your drone has a mount, it may be too small or unstable if your GoPro is particularly large or misshapen.
Some GoPros are specifically designed to be paired with drones. For example, the GoPro HERO10 Black Bones was designed to be a drone camera. Definitely check out specific GoPro models and their reviews to see if any are better designed for the size and shape of your drone.
Check the Weight
Make sure that your GoPro model doesn’t exceed the drone’s carrying capacity. A too-heavy camera could impact the flight stability and battery life of your drone. Or, you may not even be able to take flight at all!
In general, drones can carry anywhere between 100-500 grams of weight, but this depends on your model. Check the specs of your drone to make sure that your drone can handle the weight of your GoPro.
As long as your GoPro is within the weight limits, you should be fine.
Check the Structure
You should also make sure that the structure of your GoPro is intact. If your GoPro has any dents, dings, or other damage, this could compromise the attachment to your drone. Always use a GoPro that’s in good condition before letting it take flight.

3. Mount Your GoPro
Once you know your drone and GoPro are compatible, it’s time to unite them! Securely attach your GoPro to the mount on your drone, making sure it’s tightly fastened and doesn’t wobble at all.
Your drone should have some sort of mounting brackets or screws included to mount your GoPro. If not, look up the manufacturer guidelines to see which mounting supplies you should purchase to safely attach your GoPro. Never use loose attachments like zip ties or string to attach anything to your drone.
If your camera wobbles, that means it’s too loose and you run the risk of it falling during flight. Not only will this destroy your GoPro, but it can also seriously hurt someone or damage other property. Only secure cameras should ever take flight for safety purposes.
If you’d like to see someone do this step before giving it a shot, check out this YouTube tutorial below. They also show some great footage they captured with their final setup!

4. Configure Your Camera Settings
Once your camera is mounted securely, it’s time to configure your camera’s settings! Make sure the settings are suitable for the lighting conditions, scenery, and your artistic vision. Your zoom and picture clarity should adequately capture your vision.
Don’t forget to enable the correct mode, such as video or time-lapse, too. And don’t be afraid to experiment with different angles to capture the essence of your adventure! The whole joy of using a GoPro with your drone is to get some never-before-seen recreational flight footage of the beautiful world around you.
5. Perform a Test Flight
Once your GoPro is attached and its settings are configured, it’s time to perform a test flight! Finally, the moment you’ve been waiting for.
Since this is a test, you don’t want to send your drone too high up or far away in case something goes wrong. Keep your drone at a low height to check its stability and see how it handles the weight of your GoPro. If it seems unstable, try reattaching the GoPro differently to balance it properly.
This is also a chance for you to see which settings you prefer. If your test flight gives you dark or blurry footage, adjust your settings and try again before your actual adventure.
Final Thoughts
Mounting a GoPro to a drone might seem daunting at first, but with a bit of practice and the right equipment, you can capture gorgeous videos in no time. We’ve found from our experiences that the world has a lot of beautiful perspectives to explore, and the sky is truly the limit. So why not get up there and take a look?
If you’re still exploring options for your drone, check out our review article on Best Drones for GoPro to see our top picks!


